Introduction
Icinga is a popular open source monitoring system that checks hosts and services, and notifies you of their statuses. Icinga is a fork of Nagios, so they are compatible and share many similarities, and it has been gaining popularity due to a more agile development cycle when compared to Nagios. Icinga work as service.
Prerequisites
To complete this tutorial, we'll require root access to an Ubuntu. Also, if you want to set up the mail notification feature, we'll need to properly configure Postfix.
Icinga Installation
Icinga can be installation though the apt-get command or debian package also, we can use MYSQL PostageSQL, SQLite, and Oracle as our database.
To install Icinga, these are the following steps:
1. Enter the command into terminal to install dbconfig-common package:
$ sudo apt-get install dbconfig-common
2. Add Icinga Repository enter this command into the terminal:
If ''add-apt-repository" command doesn't work, install the following package
$ sudo apt-get install python-software-properties
3. Add Icinga repository:
$ sudo add-apt-repository ppa:formorer/icinga
4. Add Icinga repository:
$ sudo apt-get update
5. Install Icinga and its dependancies
$ sudo apt-get install icinga icinga-idoutils mysql-server libdbd-mysql mysql-client
Now we will get a series of propmts for installation of the Icinga
- mySQL Configuration: Enter a new MySQL root user password (if you don't have Mysql installed then enter new Mysql password)
- PostFix configuration: Select "Internet Site"
- Configuring Icinga-cgi: Enter "Icingaadmin" user's password(login to access Icinga).
- Configuring icinga-common: Enter "No" to enabling external commands

- Configuring icinga-idoutils: Enter "Yes" to configuring database for icinga-idoutils with dbconfig-common
- Configuring icinga-idoutils: Select "mysql" as the dtabase type
- Configuring icinga-idoutils: Enter MySQL root password (that you just assigned above)
- Configuring icinga-idoutils: Enter a new icinga-idoutils database user password (MySQL application password for icinga-idoutils
6. Enter this command to add Apache user (ww-data) to nagois group:
$ sudo usermod -a -G nagois www-data
7. Enable the ido2db daemon to start on boot up, which stores icinga events and configures in the database. Edit Icing default configuration:
$ sudo vim /etc/default/icinga

change the value of IDO@DB to yes, so it looks like the following:
IDO@DB-yes
8. save and quit. Now start the ido2db service:
$ sudo service ido2db start
9. Enter this command into the terminal to enable idomod module by copy the sample idoutils.cfg file to Icinga's active configuration:
$ sudo cp /usr/share/doc/icinga-idoutils/examples/idoutils.cfg-sample /etc/icinga/moules/idoutils.cfg
10. Install icinga-web
$ sudo apt-get install icinga-web
11. Now Icinga is configured and ready to be started:
$ sudo service icinga restart
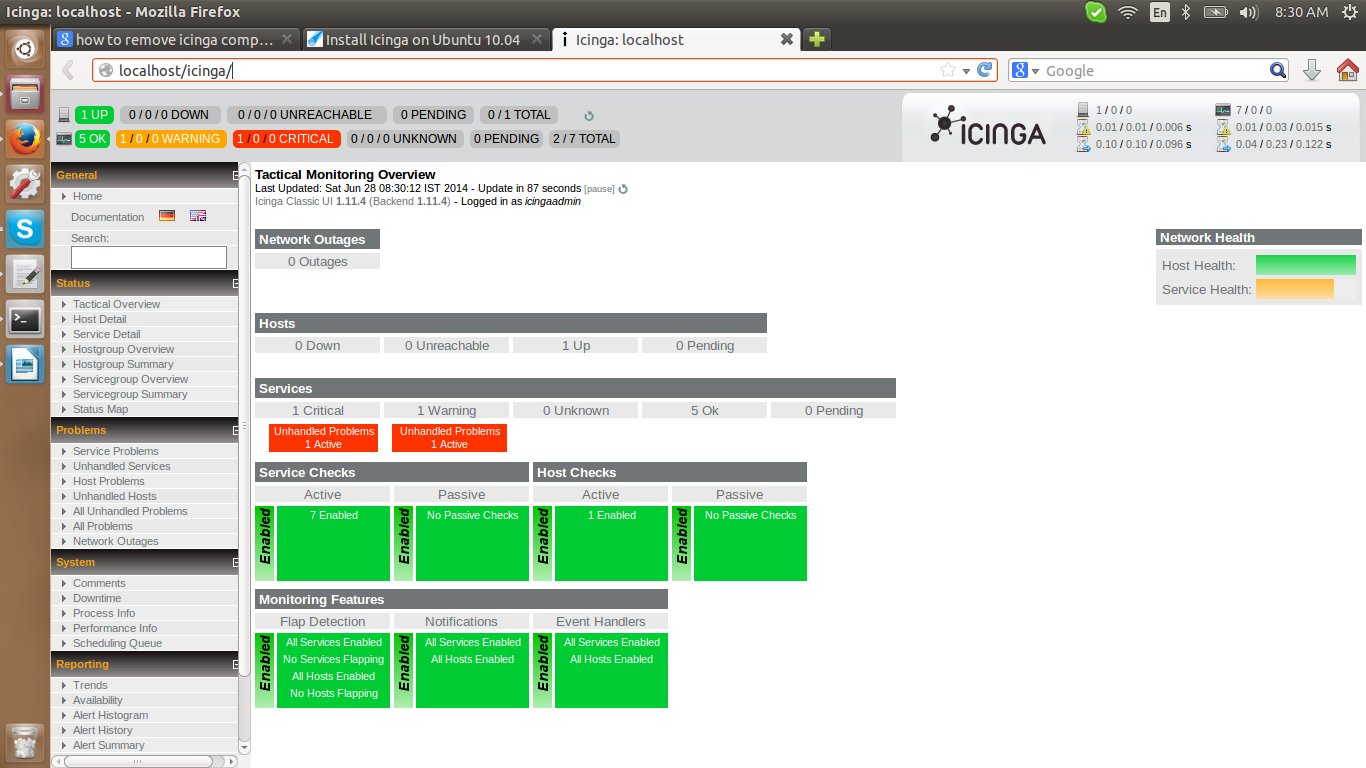
/********** Accessing the Icinga User Interface **********/
http://yourhost/icinga(eg. yourhost will be localhost)